I have just freshly Corona behind me and had thanks to a mild course and the prescribed isolation finally enough crafting time. Two terrain projects have been finished, of which I would like to present the larger one today: It’s going green! Welcome to the jungle!
For a while now, I’ve been collecting figures and ideas for the Lost World and Jurassic Park settings. The latter, however, is not meant to be so slavishly based on the movie. It’s more about the pulpy Lost World scenario, in which some well-known dinos and characters from Jurassic Park can be found again. In order to photograph anything at all, I first needed completely new terrain. My previous terrain represents either the modern city or Conan’s desert. There are a few exceptions, but by and large I had nothing that somehow resembled jungle. That had to change. Some parts for it have been lying in storage for months, waiting to be used. A few weeks ago I got serious and bought all the parts I still needed.
Long live the aquarium supplies!
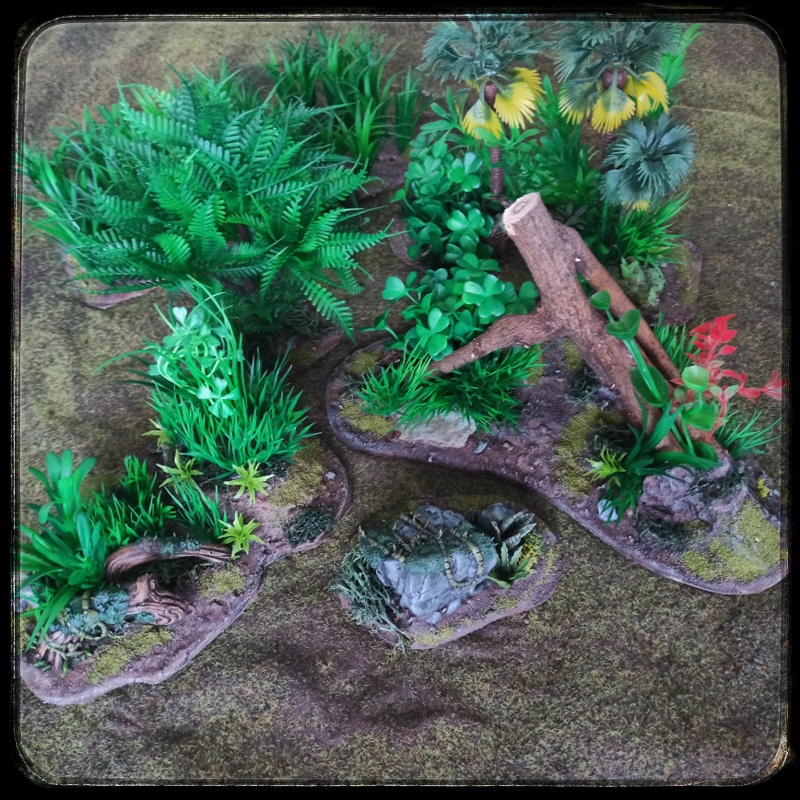
The jungle terrain consists of self-built parts that have a base of cardboard and Styrodur. I am still not interested in equipping a whole game table. Some indvidual parts are enough to make photos, for that they should be as variable as possible. The plants and trees come from the aquarium supplies. Again, of course, I have been inspired by others. Michael Awdry’s blog, for example, is always a good source for me. He started a similar project a while ago and made jungles and painted dinos for it.
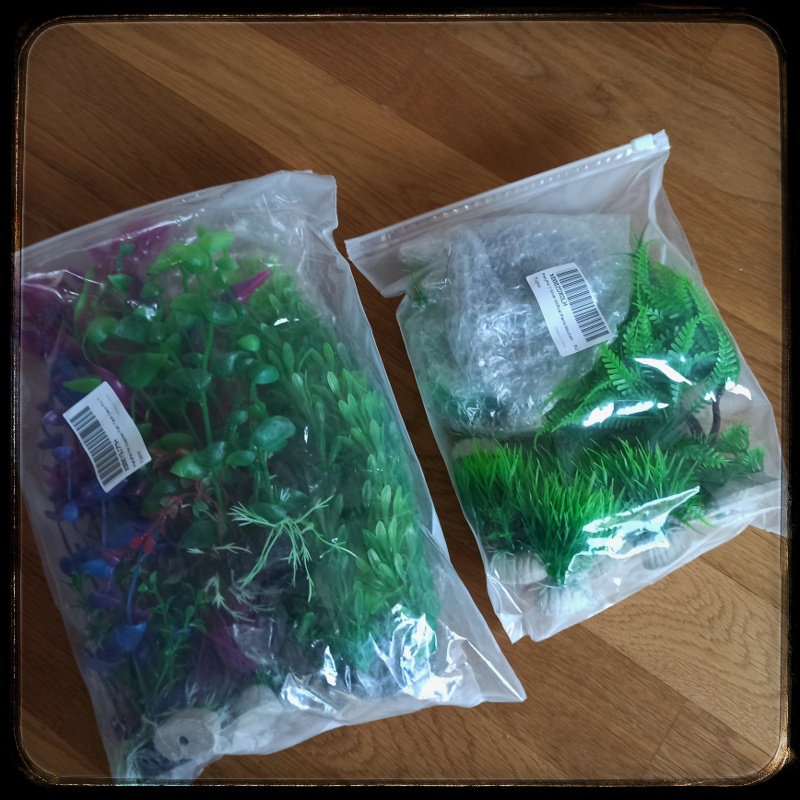
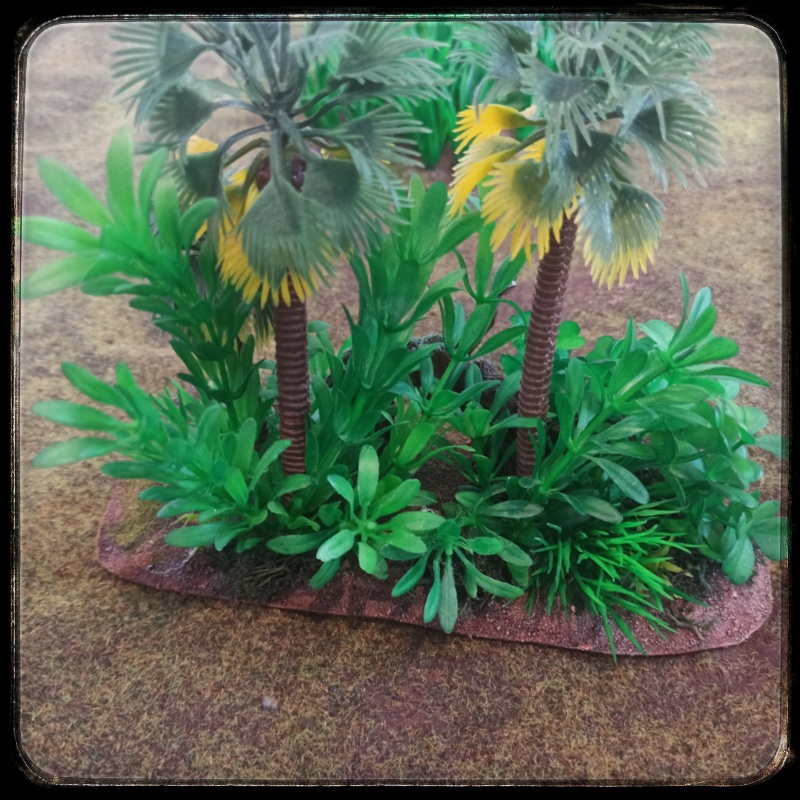
Without further ado, I also ordered a few plastic aquarium plants from Amazon, e.g. these or these (affiliate links). A few model palms were also there, but I only used a few of them. Yes, this is the cheapest China stuff. I did a bit of searching and selected the parts that were most likely to fit and were as cheap as possible. Shortly thereafter they arrived and were first examined.
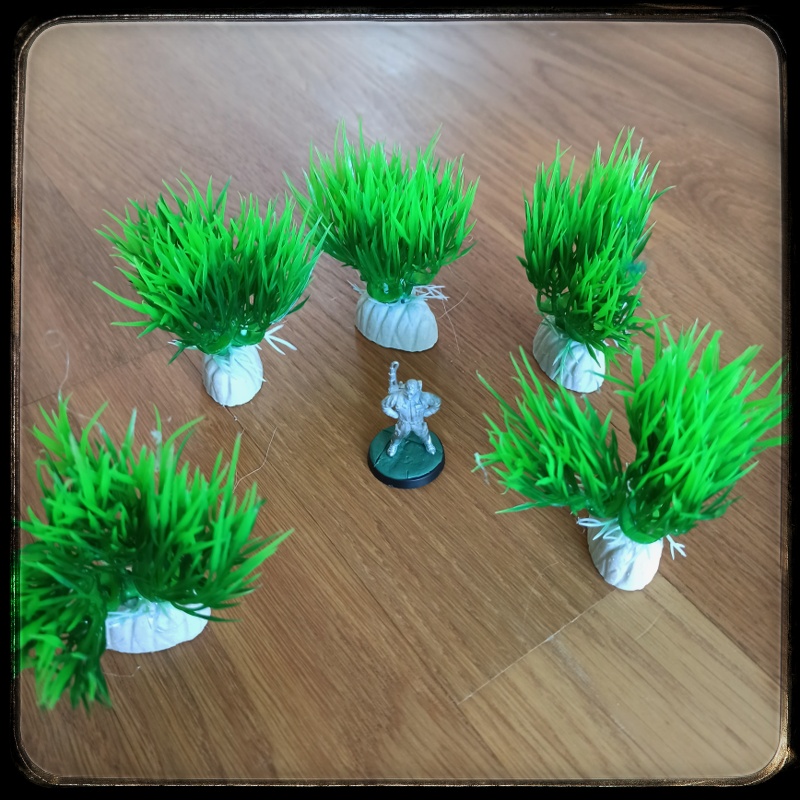
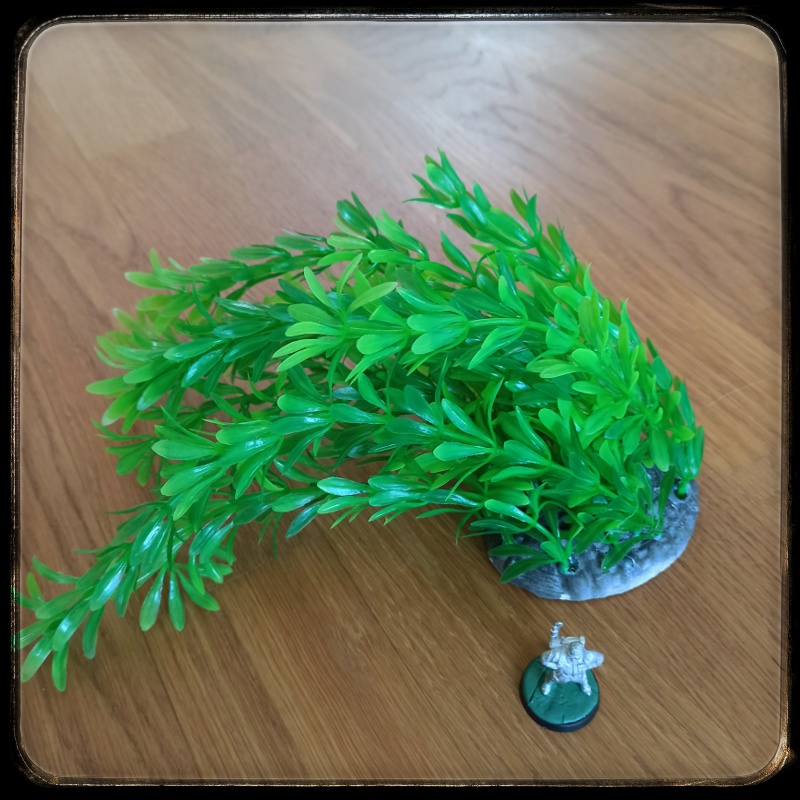
Some plants fit well in terms of size, others are huge. Fortunately, you can easily cut them small and thus use very variable. On some game tables, even very large plants are used. A beautiful jungle plate is in the best case just a green hell with as much scrub and abnormally large plants.
3D printing for details
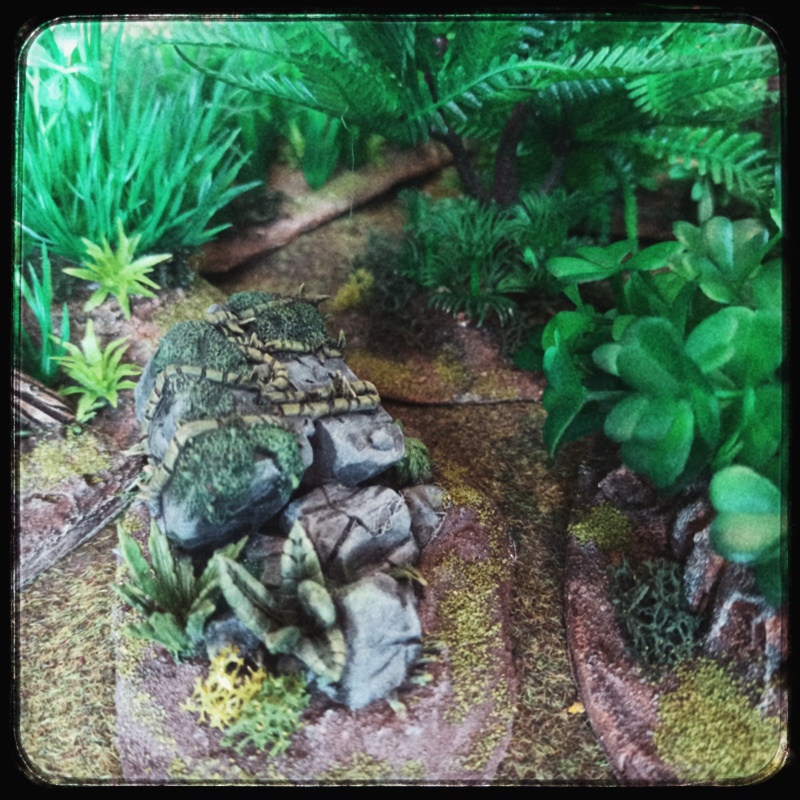
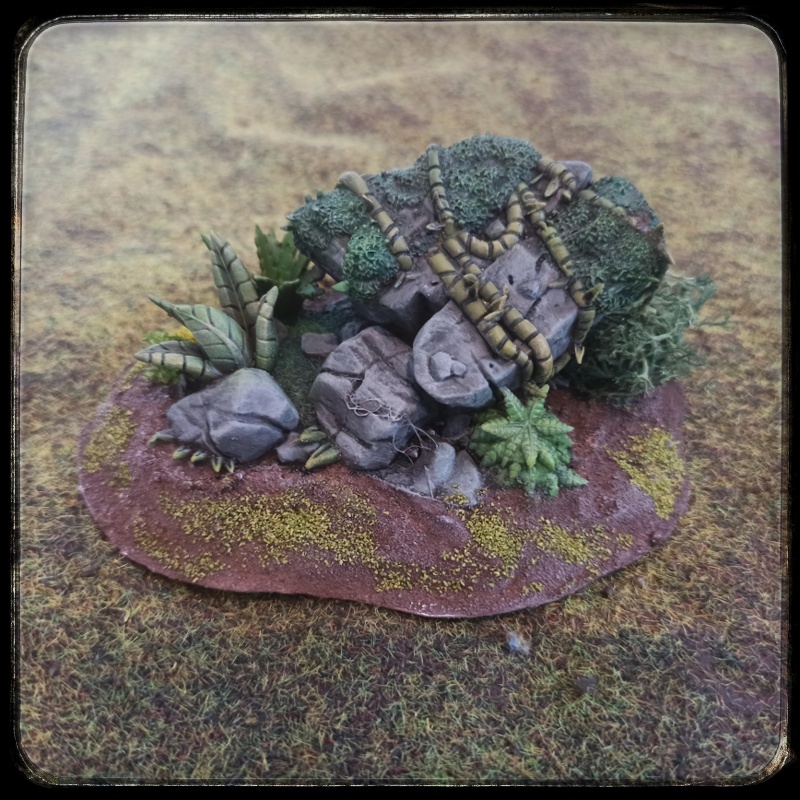
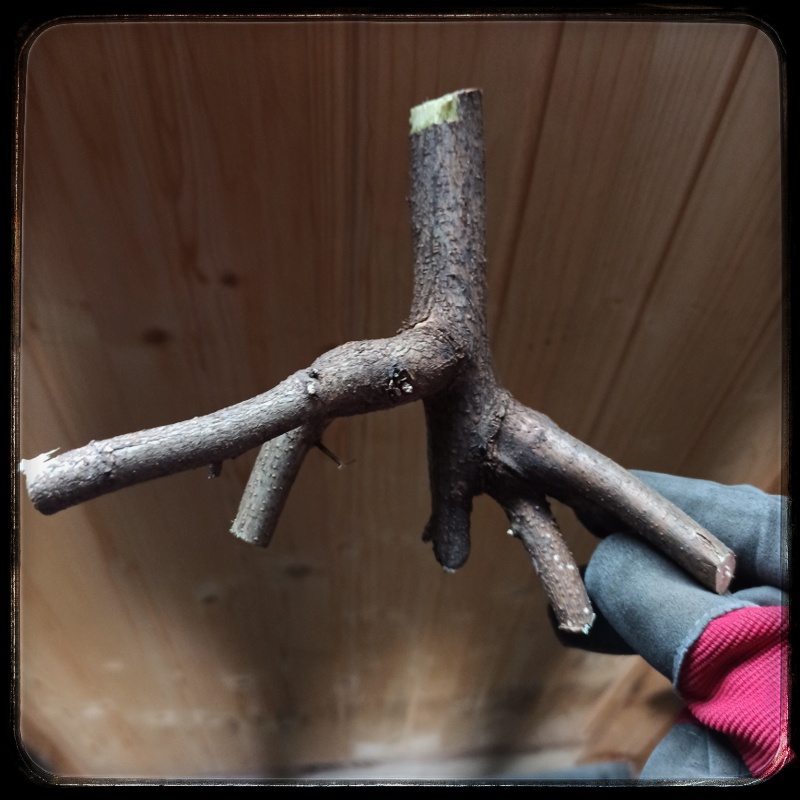
The plants are complemented by printed jungle terrain. At a sale, I snagged the beautiful Jungle Terrain Bundle from Cast n Play on Myminifactory for half off. It’s mostly overgrown rocks and tree trunks, but they should add some detail to the drab aquarium plants and break up the look a bit. I use the smaller parts to create the bases of the larger dinosaurs.
The printing went very well (you can read more about this here). The only problem I had was with a large rock that I printed hollowed out to save resin. Hollowed out printing is a science in itself that I haven’t quite mastered yet. I can’t seem to get the holes set so that all the resin actually drains easily. Resin does not dry in the air, however, but remains liquid/sticky in the model until it finds a crevice somewhere to run out. If you don’t notice this and are already machining, it can be quite a mess and ruin all your work. In my case, I had just taken enough time to keep re-hardening the model and eventually everything was solid. Not the most elegant way, but others seem to have major problems with hollowed out prints.
What I like most about working with the files is that you can scale them variably. I can print a model as is and next to it the same model scaled down by 50%. Playing with the sizes increases the choice significantly. I can use the same part as a terrain piece or scaled down as an ornament for bases.
I didn’t take photos of the printing process, since it was always kind of done between the door and the window. Next time I think of photos of printed parts.
The jungle is created
The construction process is simple in principle: base of cardboard and Styrodur or Styrofoam, so that the cardboard does not curl due to paint and glue (unfortunately happened to me once). Alternatively, you can use MDF boards, which are also much more stable. However, you have to cut them from a certain thickness with a jigsaw and sand. Smaller pieces and curved shapes are more complex to cut and rework. Since I was not quite fit and wanted to get started quickly, I decided against MDF.
When I wanted to place printed pieces on the terrain parts, I now glued them on. Then everything was filled with plaster and modeled. Then came sand and small stones, followed by two layers of diluted glue to seal everything. The base was ready and could be painted. Now I painted the printed parts, as they required some attention and were harder to reach later. However, since I didn’t want to get lost in details, I went rather rough here.
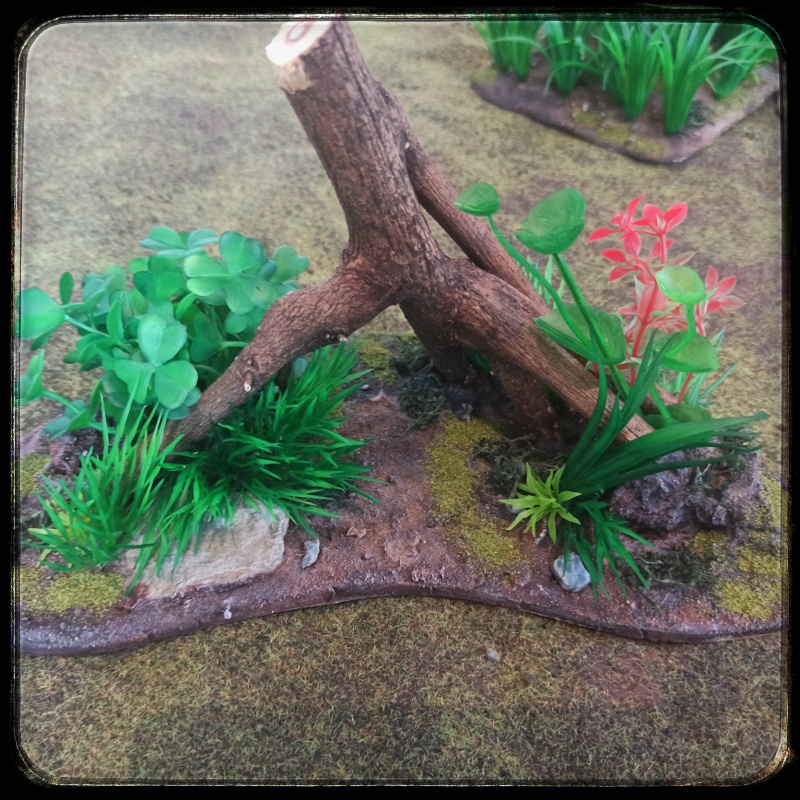
The aquarium plants all have an unnatural shade of green that doesn’t look like a plant, just plastic. I gave all the plants a few sprays of Vallejo Dark Green primer. That made it more tolerable. A second spray paint in olive would be optimal to get greater variety and a more natural look. Michael Awdry did it, however I had no other spray and didn’t want to wait. The now finished terrain parts are certainly not the last – next time I’ll use another green.
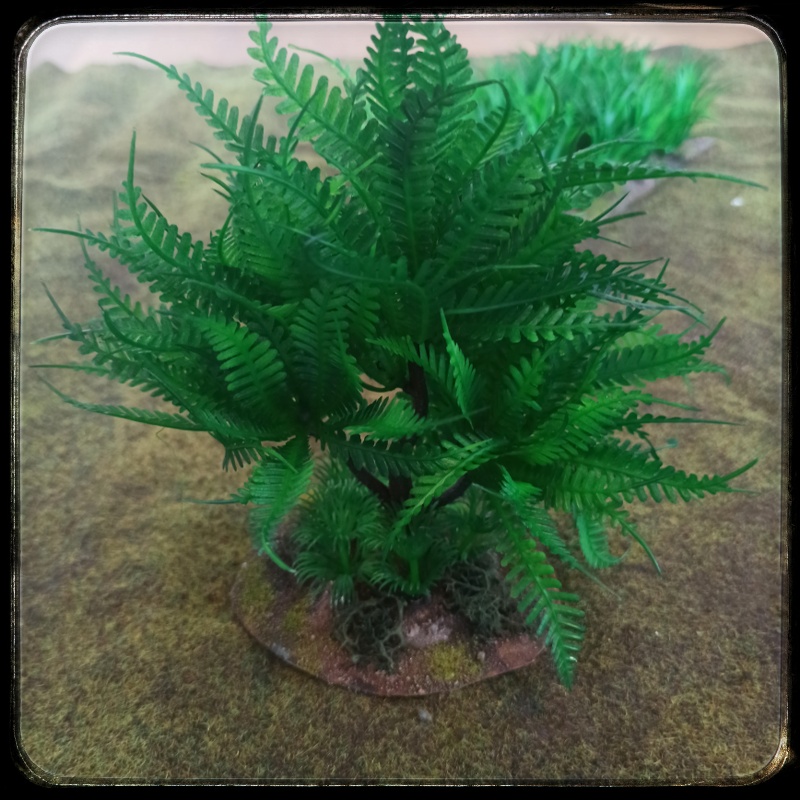
Then all the plants were placed test and after a little back and forth finally glued with the hot glue gun. Now only some Iceland moss and litter was missing and the jungle was ready. Finally, I sprayed everything with Army Painter matt varnish to consolidate it and erase the last shine from the plastic plants.
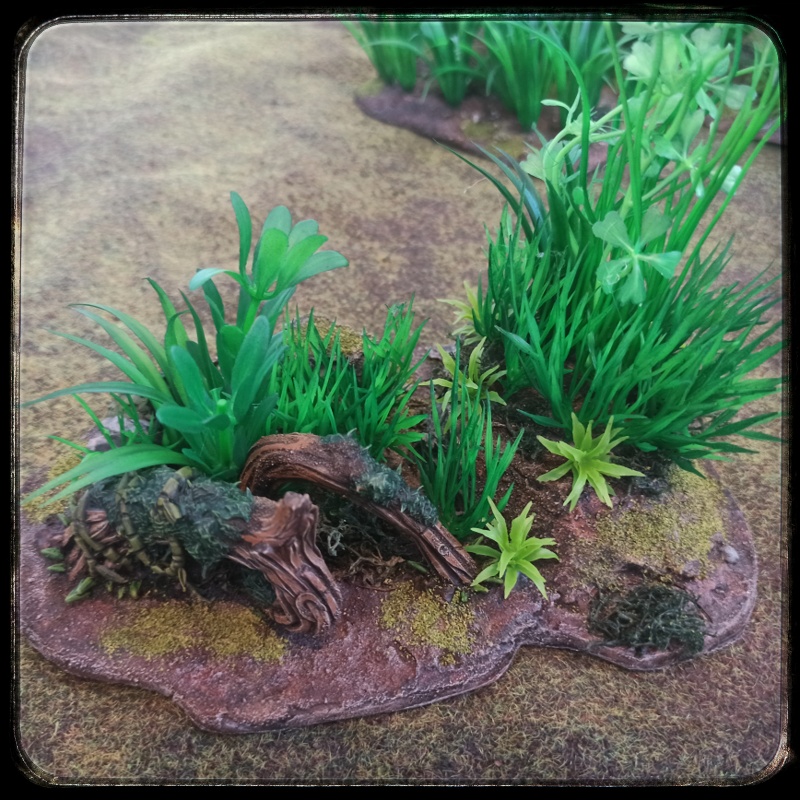
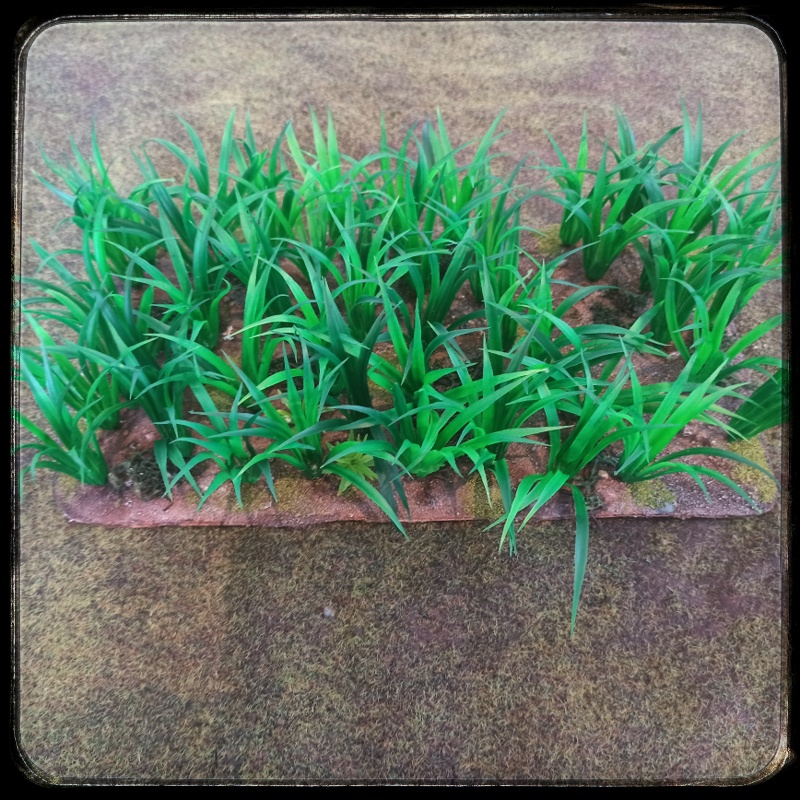
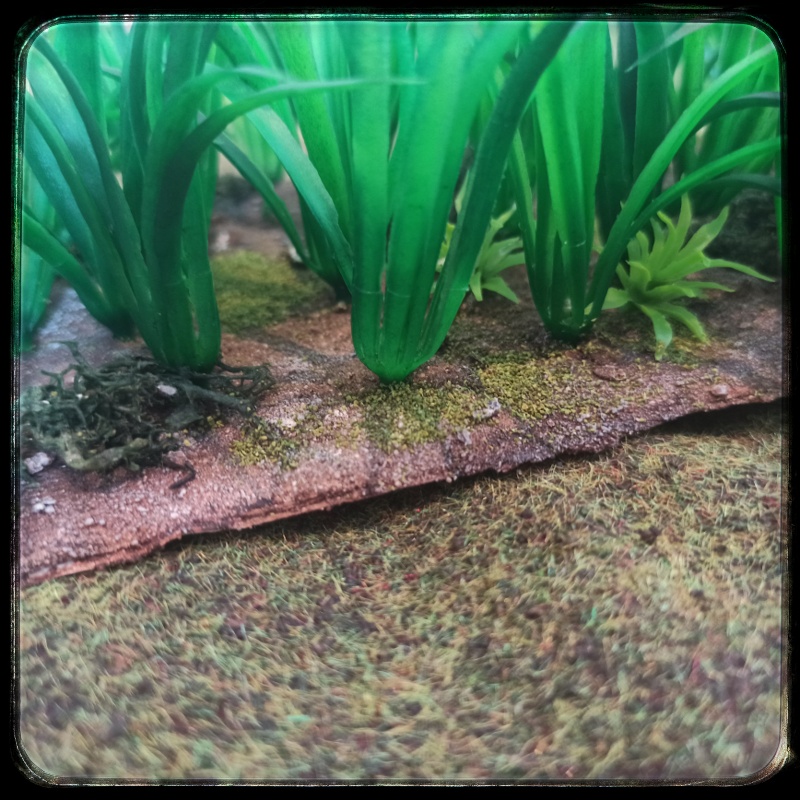
Don’t go into the tall grass!
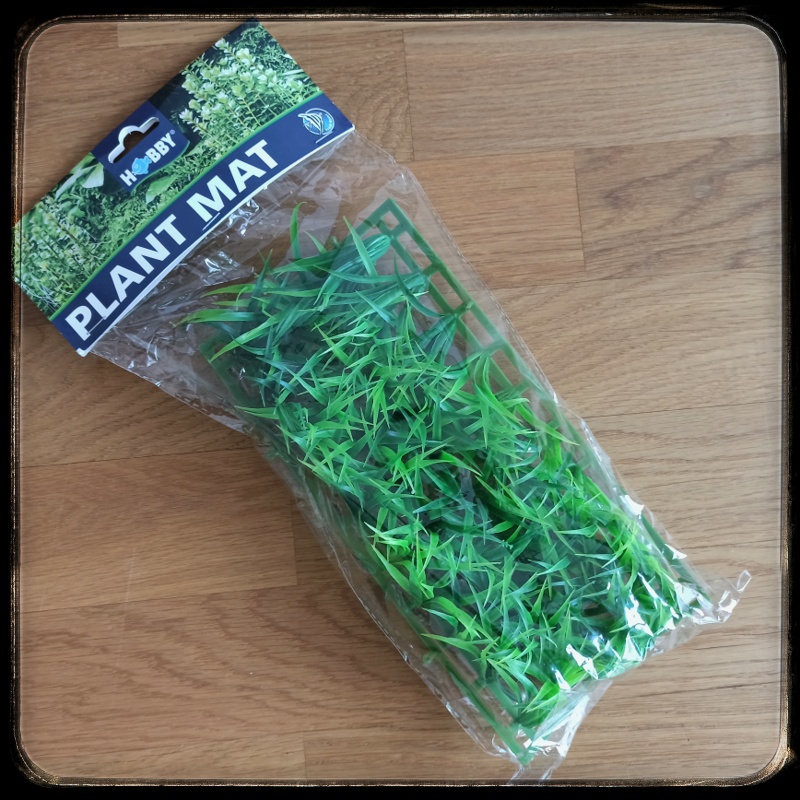
I had bought a pack of several large plastic grasses (affiliate link) to actually mix with the other parts. In the end, however, I had enough material and had another thought when I saw how the grasses were delivered. They were glued to a plastic grid and looked like a field of man-sized grass. The Jurassic Park fan in me immediately screamed “Don’t go in the tall grass!!!”. After all, that’s where the velociraptors lurk and no one gets out alive. So I decided to make my own terrain piece out of the complete plant set.
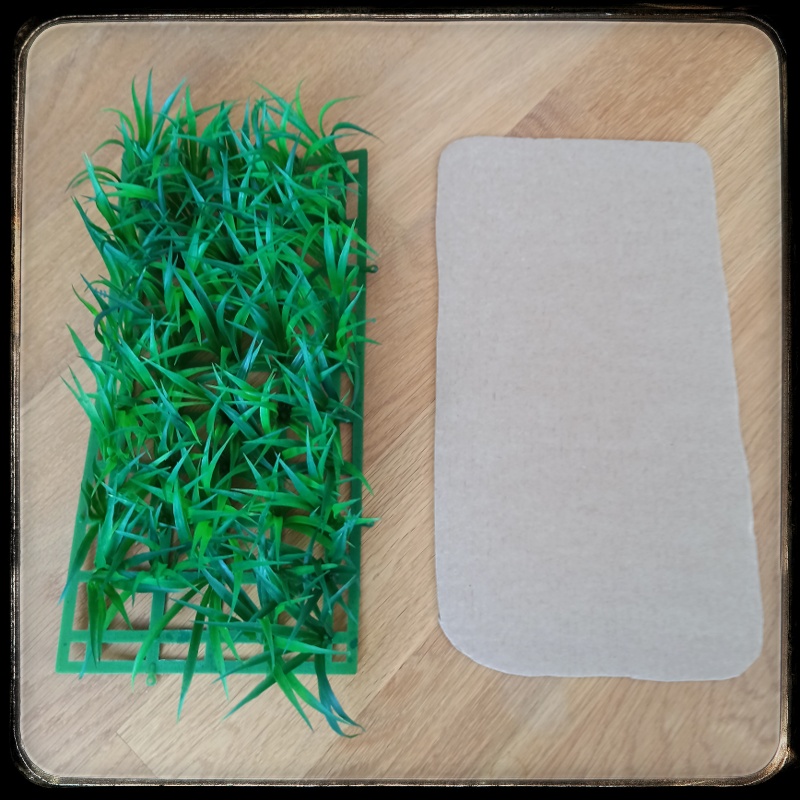
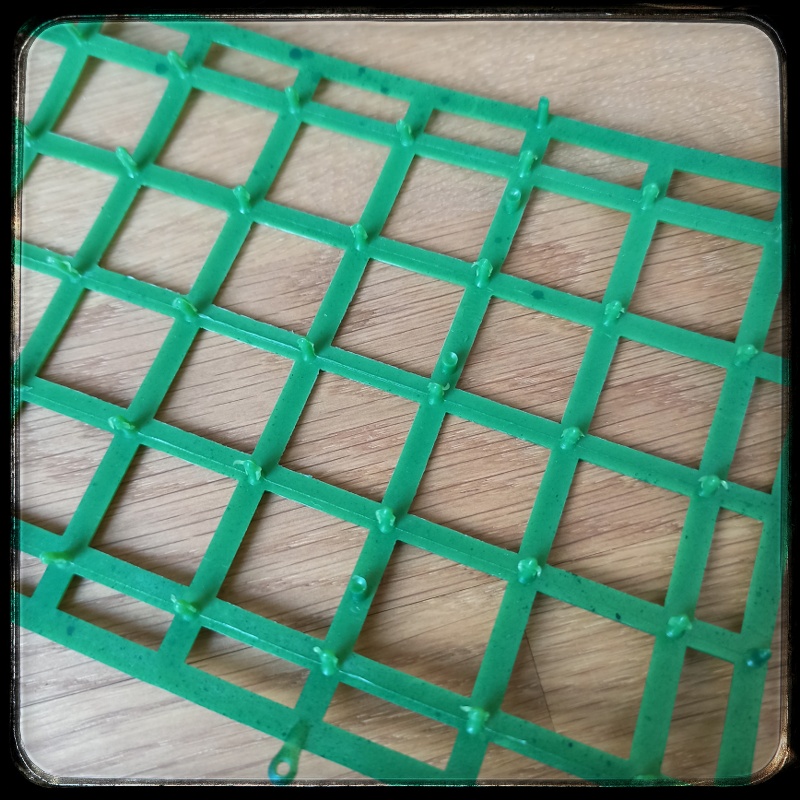
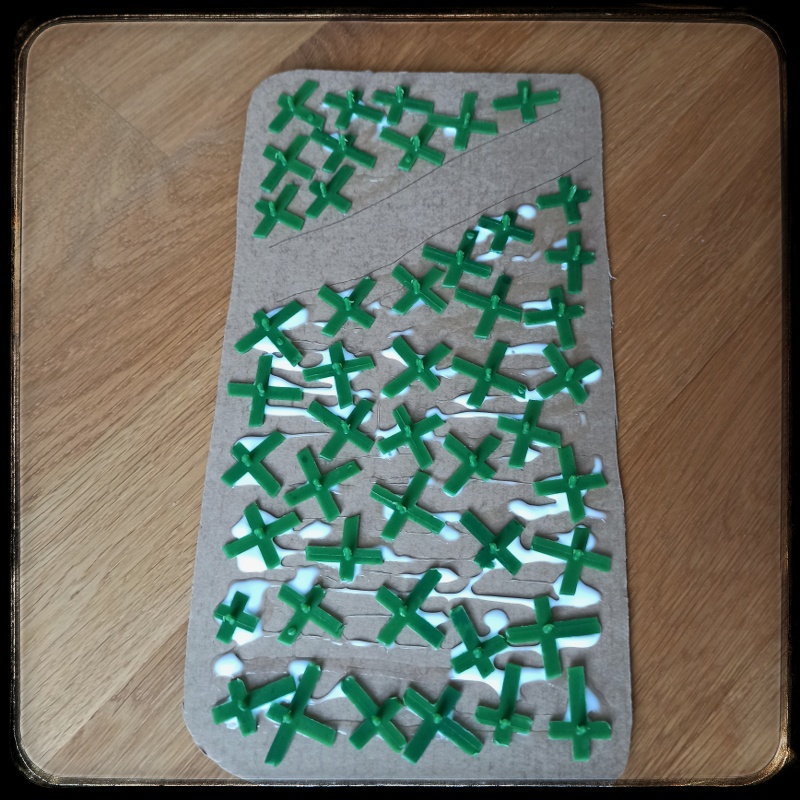
Since the plants were stuck on the grid and I expected greater stability from it than just sticking them to the thin “root”, I unceremoniously cut the grid and glued it spread. Afterwards plaster and sand followed again. After the base was ready, I put the grasses only again: ready.
Welcome to the Jungle!
These jungle parts are just the beginning. I still have some ideas and also want to bring more color variance pure. Other green sprays are tried and I need more small parts to have material for the lower edge of the picture in photos. Ultimately, you can be insanely creative when it comes to jungle. And when it comes to the Lost World and not a realistic Amazon jungle, the possibilities are endless. For the beginning and the comparatively low effort, I am very satisfied with the result. Now it’s time for the first expedition tour and of course the first jungle inhabitants!